Create the account and add Tidio to your site
Create the Tidio account, use the integration offered by your site platform or install the provided code, match the widget to your brand, and verify it as a real visitor.
Step 1: Create the account
Register on Tidio and enter the website you plan to connect. Check the current plan and trial information in your own account because allowances can change.

Step 2: Connect the site
Use the current Shopify or WordPress integration when it matches your platform. For another stack, follow Tidio's current installation instructions for the provided script.

Source: Tidio interface, accessed July 2026.
Do not paste scripts into random templates. Use the location recommended by your site's platform and keep a record of what was added.
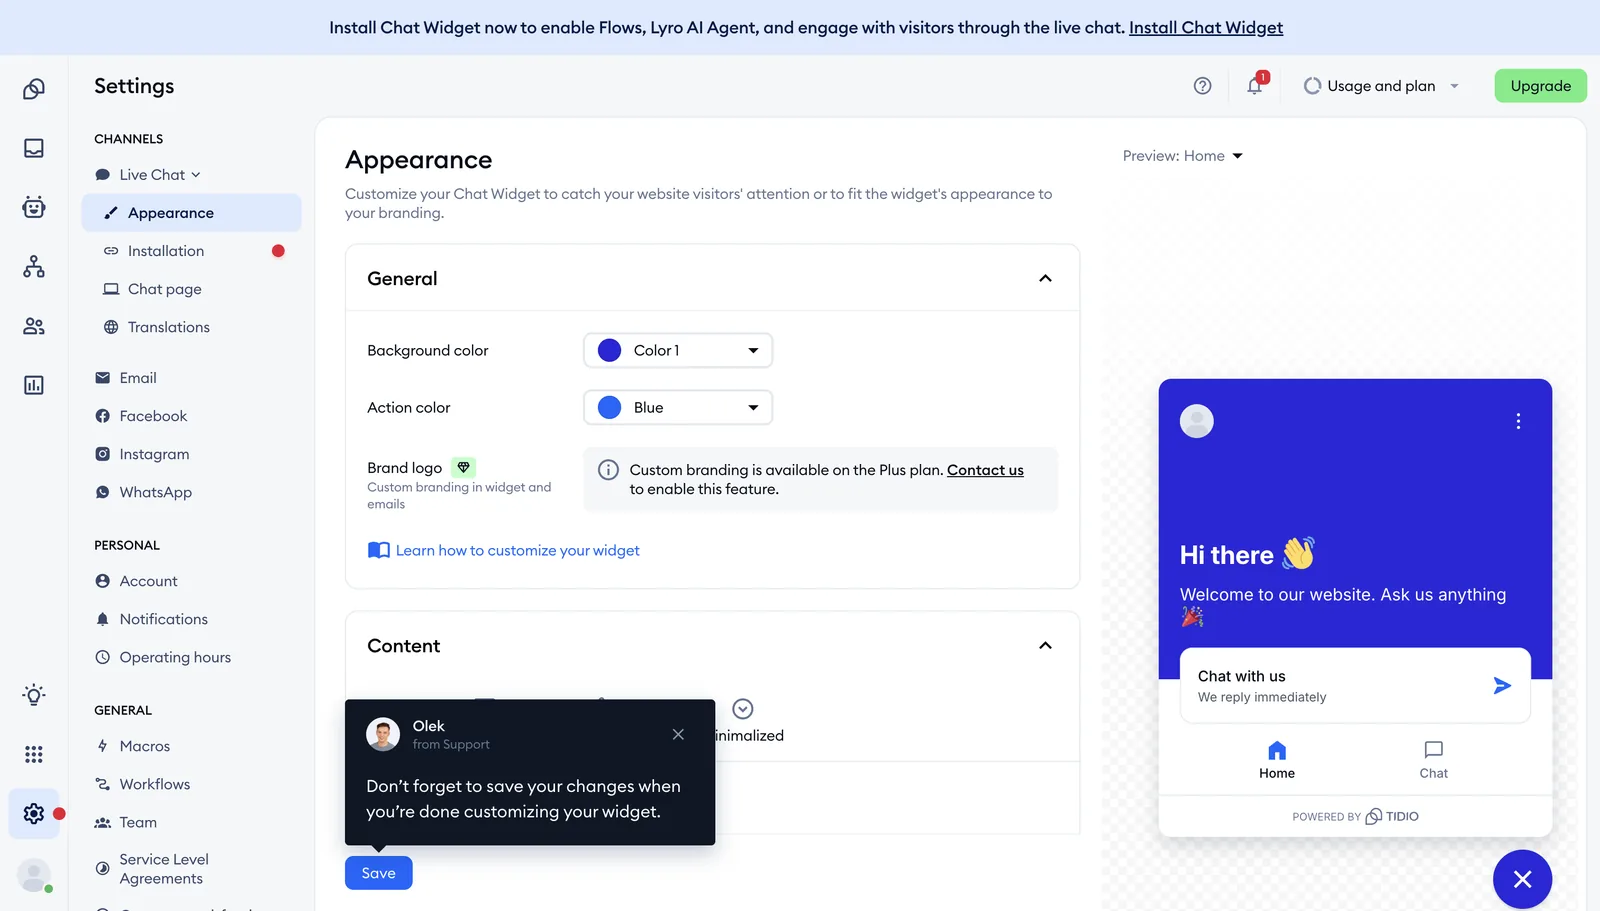
Step 3: Match the widget to the brand
Adjust color, placement, greeting, and avatar so the widget is recognizable without covering important controls on desktop or mobile.
Verify the installation
Open the public site in a private browser window, submit a real test message, and confirm that it appears in the Tidio inbox. Repeat the test on a narrow mobile screen.
Lesson checklist
- I created the Tidio account
- I used the correct installation path for my platform
- The widget fits the brand and mobile layout
- A test visitor message reached the inbox
Next, you will give Lyro the knowledge it needs.