Meet the editor: the canvas and the node
The blank canvas that greets you when you open n8n, and the logic behind adding nodes. This lesson shows you how n8n breaks a task into boxes, and how node search actually works.
The first time you log into your n8n account, you land on a completely empty screen. That screen is called the canvas. This is where you build your automation, not by writing code, but by placing boxes (nodes) side by side and connecting them.
The blank canvas is waiting
When you open a new workflow, the canvas is totally empty. There's just one invitation in the middle: add your first step. That's not an accident. It points straight at n8n's core rule: every automation starts with a trigger. Without a trigger, a flow can't run, because the system needs to know when to start.
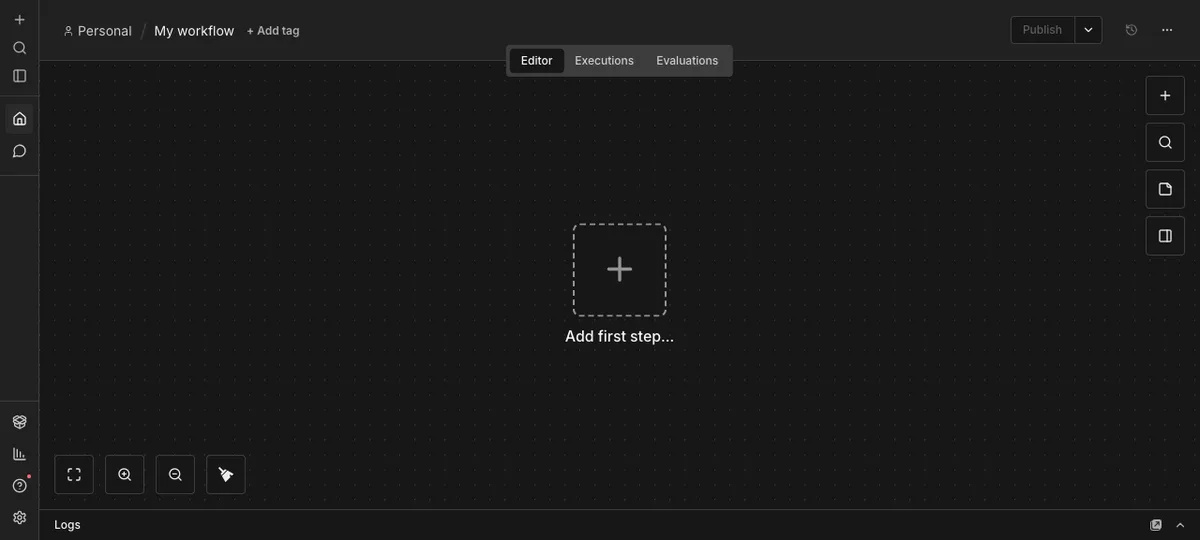
Source: n8n panel (local install), accessed July 2026.
Adding a node
To add a node to the canvas, you click the plus icon or the search box. A search panel opens up, and you type in whatever you want to do: "rss," "gmail," "schedule." n8n pulls up matching nodes as cards, and you pick the one you want and drop it on the canvas.
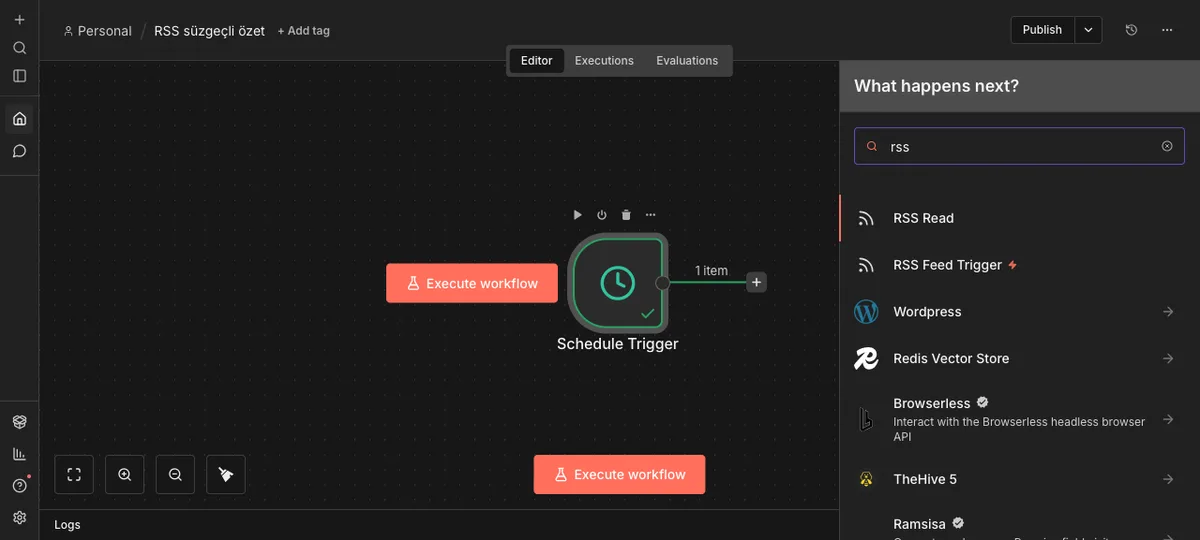
Source: n8n panel (local install), accessed July 2026.
The logic behind the search is simple: think about what you want to do, then type that word. Want to read an RSS feed? Type "rss." Want to send an email? Type the name of the service you use. Click a result card and the node drops onto the canvas, then you can drag it wherever you want.
What a node actually is
A node is a box that does one job. One node reads an RSS feed, another checks a condition, another sends an email. In the automation fundamentals course, I called this an "action box." Same idea, n8n just calls it a node.
Every node has its own settings panel. Click on a node and that panel opens, showing you exactly what that node needs: a URL, a text field, a condition, an account to connect. The panel changes from node to node, since each one does a different job, but the logic stays the same: the node asks what it needs to know, and you answer.
Connecting nodes
Adding a node to the canvas isn't enough. You need to connect it to the one before it. Each node has a small connection point on its edge. Grab that point and drag it to the next node, and the two link up. The connecting line shows which way the data flows: the output of one node becomes the input of the node it's connected to.
Building an automation really just comes down to lining these boxes up in the right order and wiring them together. Each box does one job, and once the boxes are chained together, the whole task runs itself. Even an automation that looks complicated is usually, once you open it up, just a handful of simple boxes linked in a row.
In the next lesson we'll put this logic to work on a real example: connecting three nodes, running them, and watching real data move through.