Set up your brand kit, generate your first visuals
This lesson walks through opening an account on AdCreative.ai, setting up your brand kit (logo, colors, fonts), uploading a product image and picking a size, and generating your first batch of ad variants, step by step.
In the last lesson we established why you'd even look at this tool. Now it's time for the hands-on part: opening an account, setting up your brand kit, and generating your first variants.
Opening an account
When you sign up for AdCreative.ai, you'll usually see a trial or some form of free usage option. Pricing and plan details can change over time, so always check the tool's own pricing page for the current numbers.
Right after signup there's one thing you should know: AdCreative often asks for payment info (a credit card) before fully opening the panel, even for the free trial. So if you're coming in expecting "sign up, walk right in, and poke around," you may hit a wall here. Exploring the tool in depth without entering a card isn't always possible. That's a deliberate choice by the tool, not a bug, so don't let it catch you off guard.
During signup you'll typically get a few questions about your business (are you ecommerce, an agency, which platforms you advertise on). These answers shape which templates and suggestions the tool shows you, so answering them accurately makes the next steps easier.
Set up your brand kit
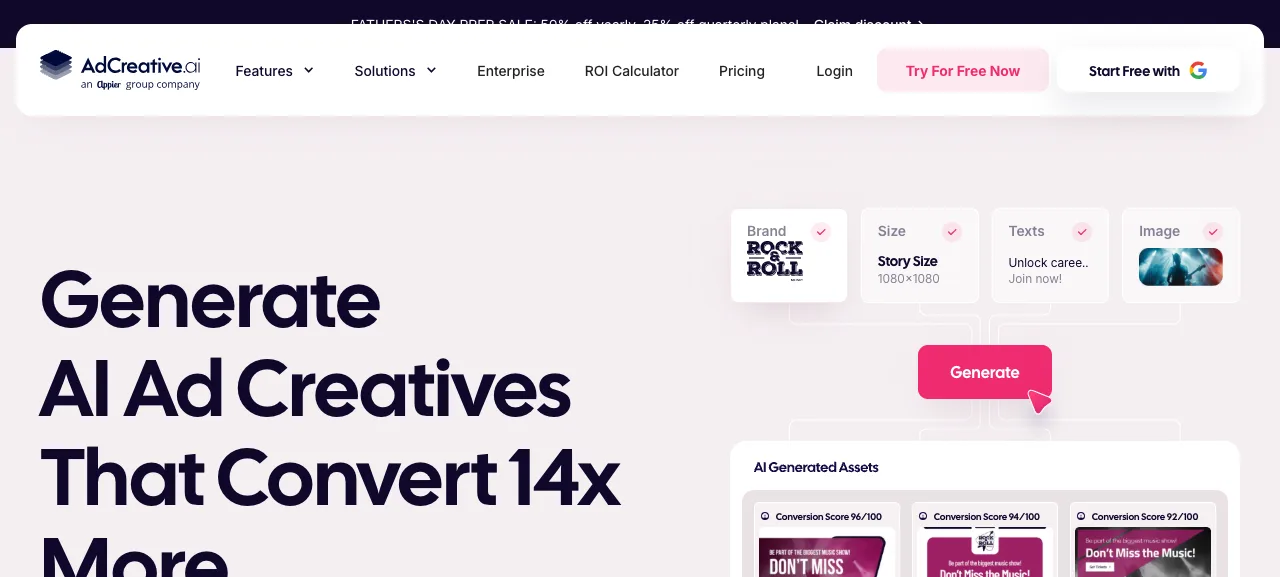
Your brand kit is the foundation every visual the tool generates for you sits on: your logo, your brand colors, and your font. Set this up correctly once, and every generation after that automatically comes out on-brand, no need to readjust it each time.
In the panel you'll typically find a "Brand Kit" section or similar. There you:
- Upload your logo (a file with a transparent background usually gives cleaner results)
- Enter your brand colors (primary, secondary, etc.)
- Pick a font, or upload your own
You can skip this step and jump straight into generating visuals, but visuals generated without a brand kit can come out inconsistent with your brand. Setting it up once saves time on every generation after.
Source: adcreative.ai/ad-creatives, accessed July 2026.
Upload a product image
Once your brand kit is ready, it's time for the product image. You upload a photo of your product (clean background, product clearly visible). The tool takes this as its base and builds ad variants on top of it with different compositions and text placements.
Watch out for image quality here: a blurry, low-resolution, or poorly lit product photo produces variants with the same problem baked in. The tool improves composition, but it doesn't miraculously fix a bad source image.
Pick a size and format
You need to pick the right size for wherever you're running the ad: square or rectangle for Meta feed, vertical for stories, different ratios for Google. Before generation, the panel usually shows a size/platform selector. You check off the formats you need and continue.
A visual generated at the wrong size can get cropped on the platform, pushing a critical element (the product, the text) out of frame. So it pays to settle where and in what placement you're running it before you generate.
Generate variants and fill in the text fields
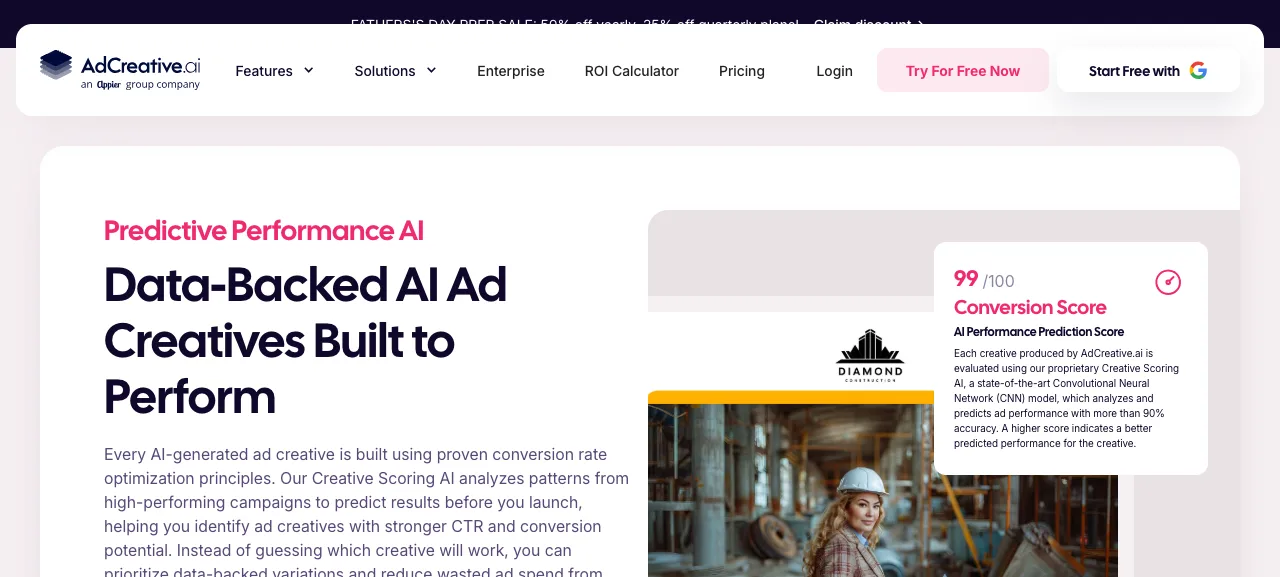
Once you've picked your size, the tool generates dozens (sometimes hundreds) of variants from the same product image. These usually come out with different compositions, different color emphasis, and different text placements.
You fill in the text areas on the visuals (headline, subheadline, CTA, etc.) for your specific product. Short, clear, readable copy matters here; long sentences become unreadable on a small ad visual.
Source: adcreative.ai/ad-creatives, accessed July 2026.
Next to every variant you generate, you'll see a performance score. As we talked about in the last lesson, that score is a prediction. You can use it to shortlist a group in the pre-screening stage, but the final call comes from a real test in your ad account. We'll walk through that step by step in the third lesson.
Lesson checklist
- I signed up on AdCreative.ai and answered the basic onboarding questions
- I set up my brand kit (logo, colors, fonts)
- I uploaded my product image and picked the right size/format
- I generated my first batch of variants and filled in the text fields for my own product
In the next and final lesson, you'll see how to test these variants on Meta and the most common mistakes beginners fall into.