Publish and connect your own domain
Move from the Webflow staging address to your permanent domain. Understand plan requirements, copy the exact DNS records Webflow provides, wait for propagation, and verify HTTPS.
Your design and content are ready. Now connect the public address that visitors will remember.
Staging domain and custom domain
The Webflow staging address belongs to the project and is useful for review. A custom domain is the permanent address you register through a domain provider.
Custom domain support generally requires an eligible paid site plan. Plan names and limits can change, so check Webflow's current pricing and your project settings.
Connect DNS carefully
Add the custom domain in Webflow, then copy the exact DNS records it provides into the DNS panel at your domain registrar or DNS provider.
Do not guess record types or values. Webflow's current screen is the source of truth for that project.
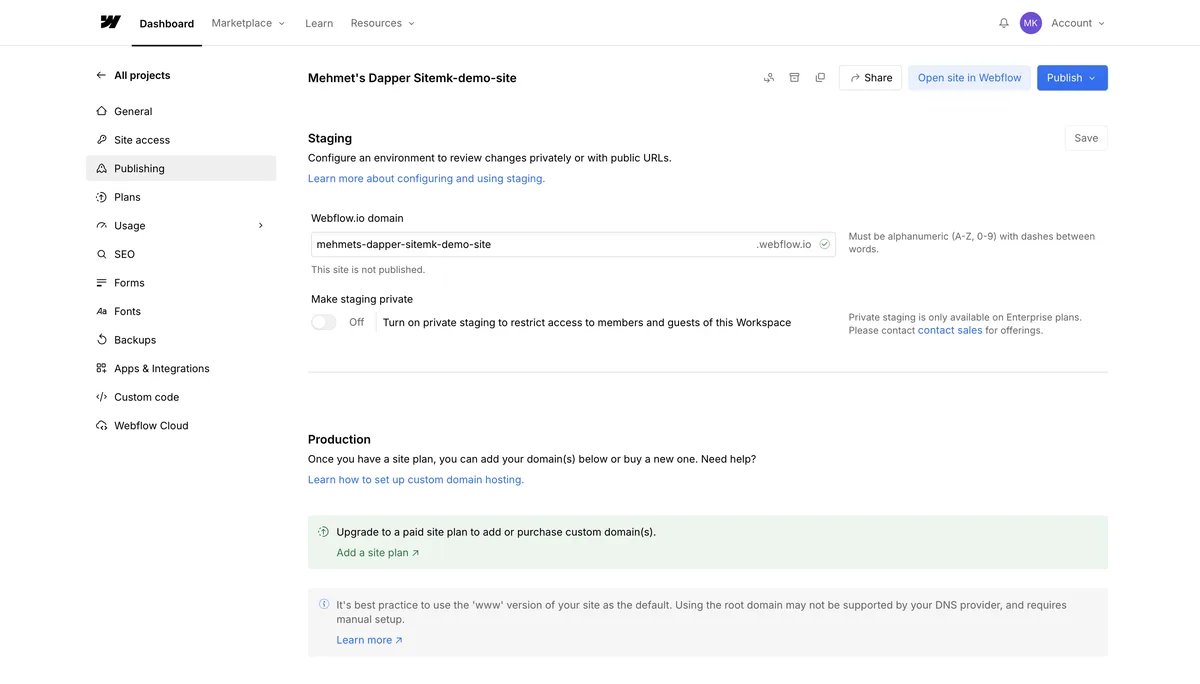
Source: Webflow interface, accessed July 2026.
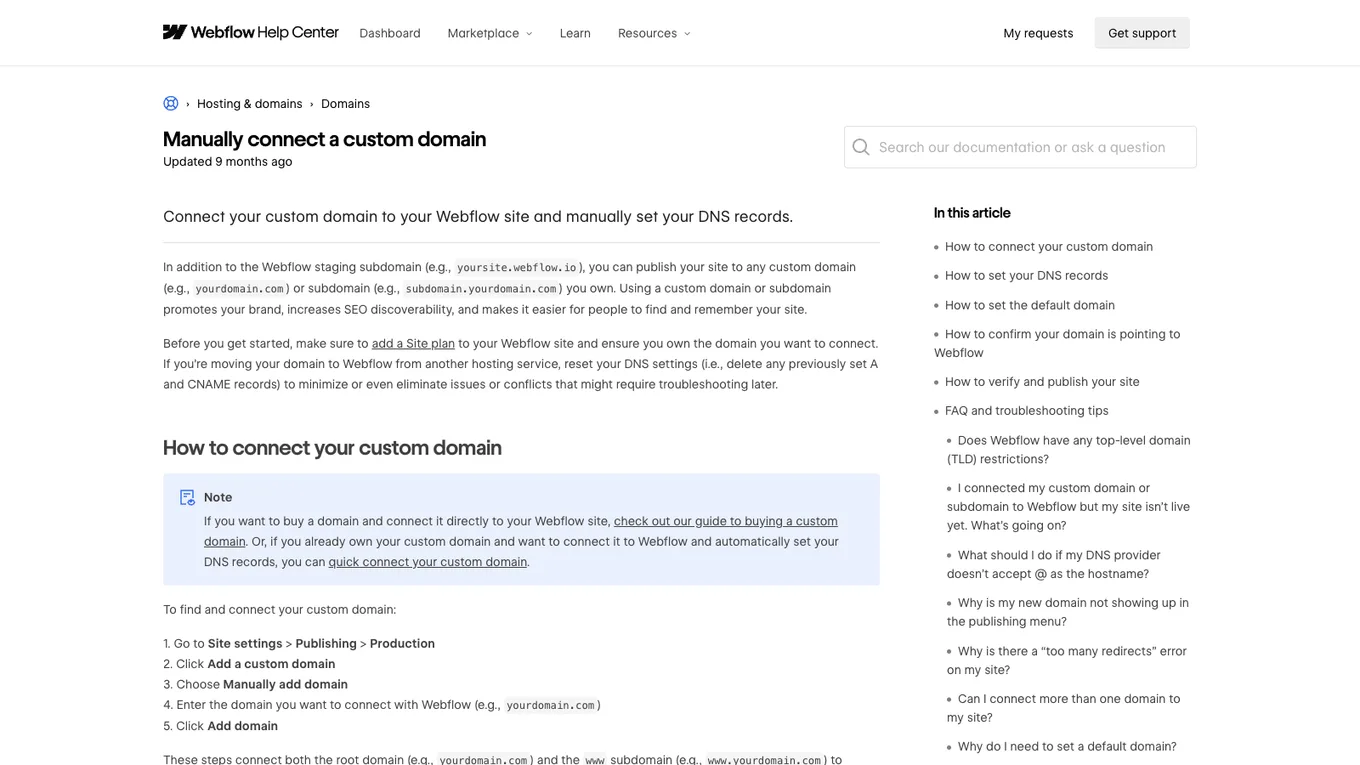
Source: Webflow Help Center, accessed July 2026.
DNS changes can take time to propagate. Wait and recheck the status before repeatedly changing correct records.
Verify HTTPS
After Webflow recognizes the domain, confirm that the public address loads over HTTPS without a certificate warning. Also decide which host is canonical, such as the root domain or the www version, and configure redirects consistently.
Lesson checklist
- I understand the difference between staging and the custom domain
- I confirmed the current plan requirement
- I copied Webflow's DNS records exactly
- I verified HTTPS and the preferred domain version
The final lesson covers SEO, performance, accessibility, and launch mistakes.