Create a workspace and your first site
Create the account and workspace, understand the staging domain, choose between a template and blank site, and identify the main areas of Webflow Designer.
Create a Webflow account with email or a supported connected account. Webflow then asks you to create or join a workspace, which contains your sites.
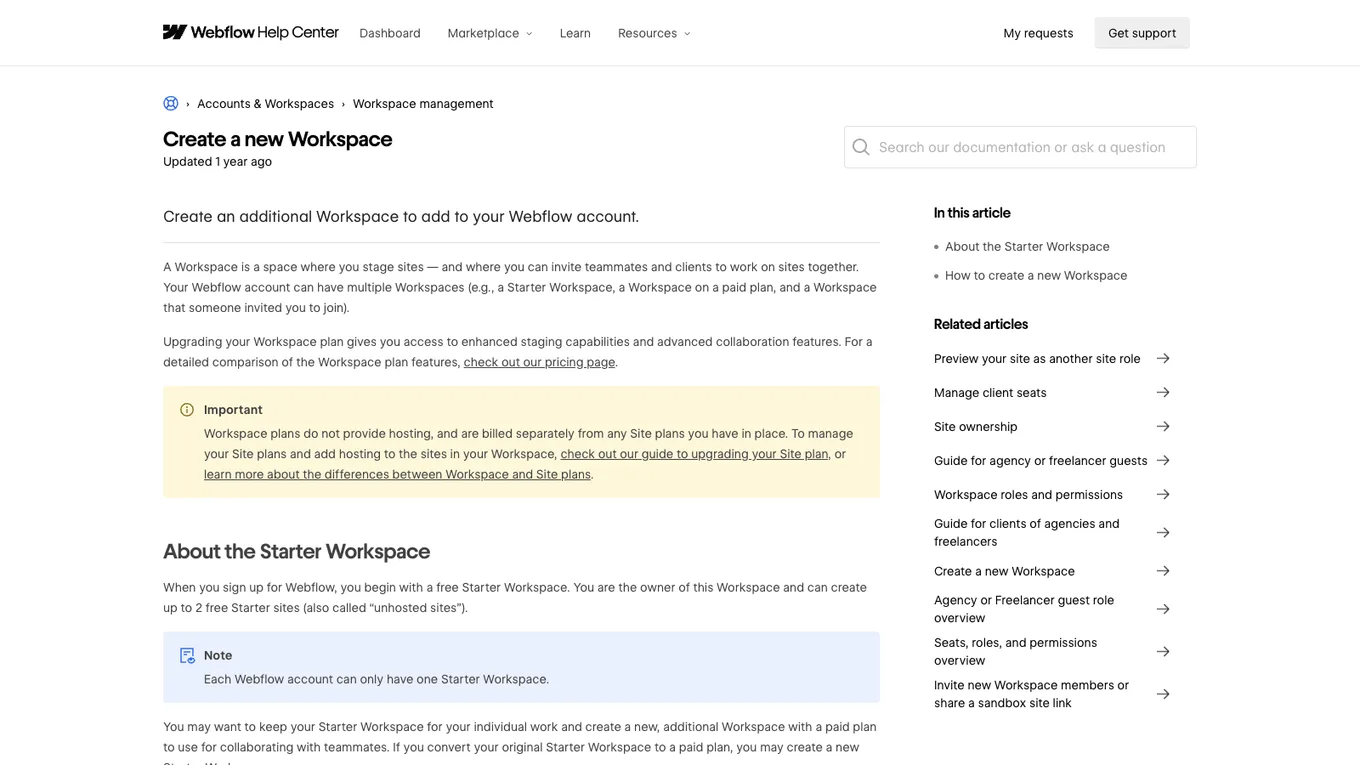
Source: Webflow Help Center, accessed July 2026.
As of July 2026, Webflow shows a free Starter option with a Webflow staging domain and product limits. Pricing and allowances change, so check the current pricing page before making a plan decision.
Staging before the custom domain
Every new site receives a Webflow staging address. Use it to inspect and share the work before connecting the permanent domain.
Staging publication and custom domain publication are separate. Treat the staging address as a review environment, and check its indexing settings if you do not want search engines to surface it.
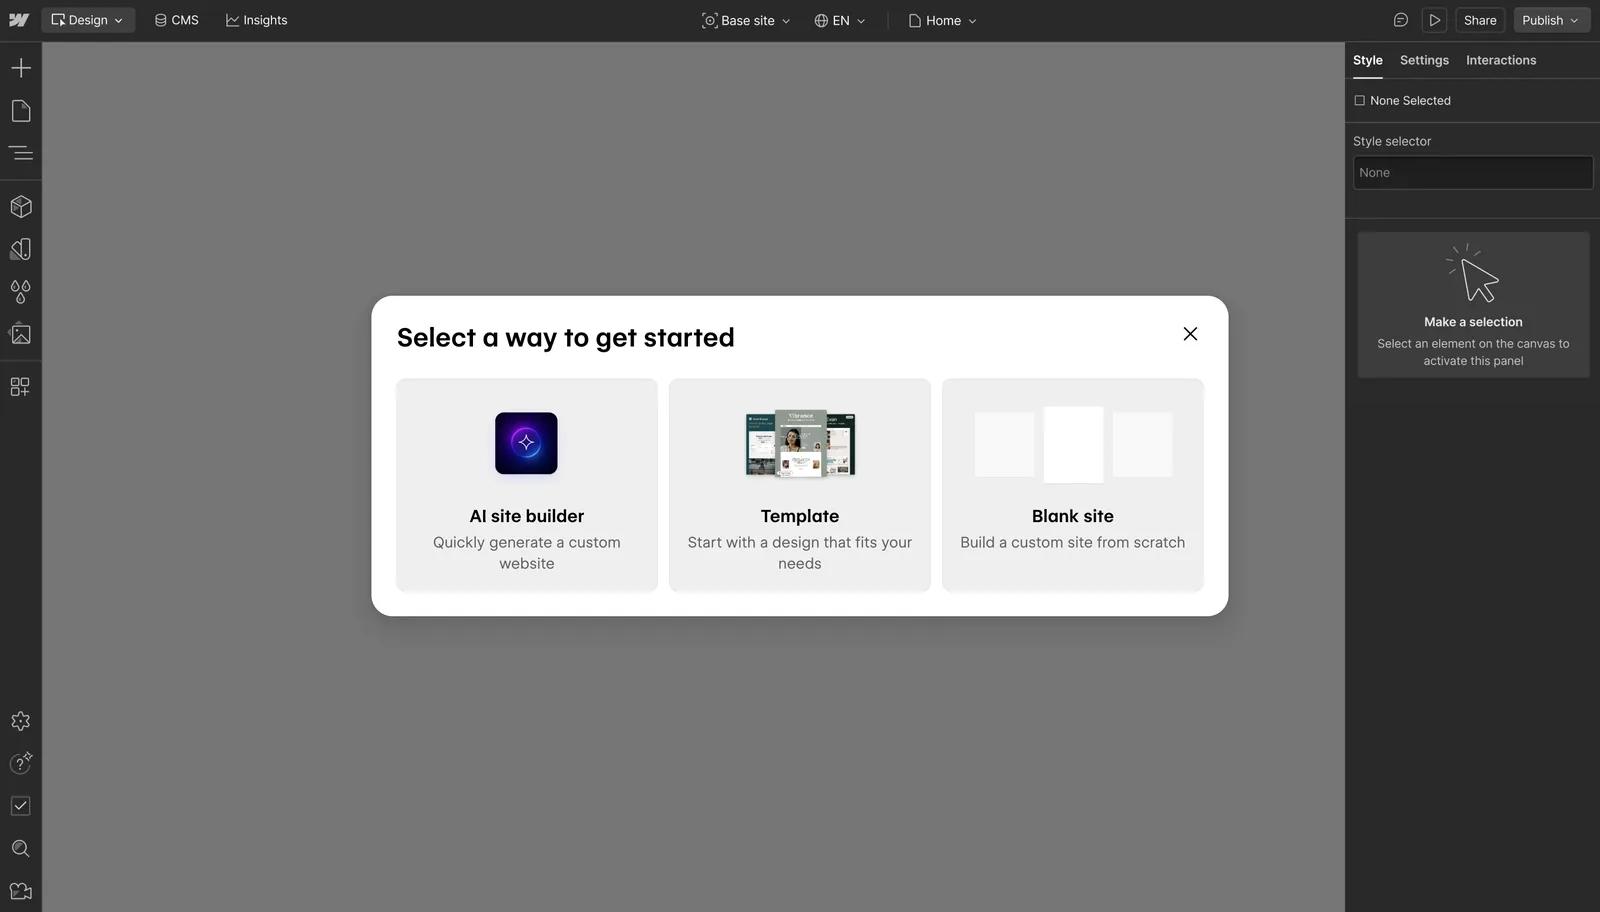
Template or blank site
A template gives you a fast visual reference but also requires you to understand someone else's structure and class names.
A blank site starts slowly, but every section and class has a reason you understand. For learning, start blank. You can evaluate templates later with better judgment.
Learn the three main areas
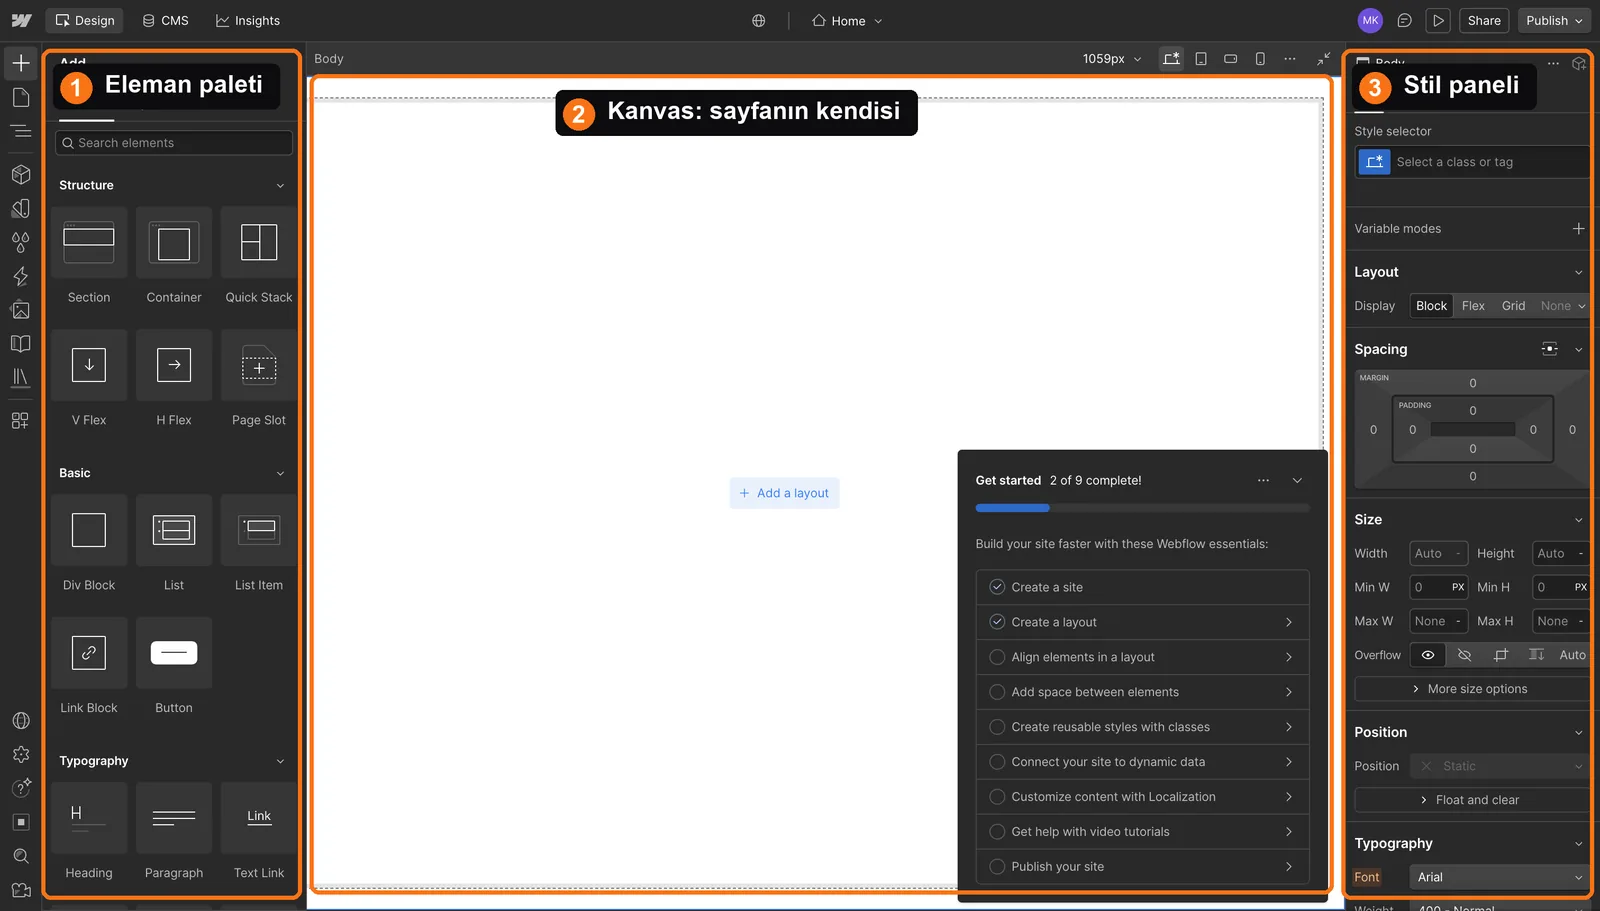
- Left panel: Elements and site structure
- Center canvas: The page you are building
- Right panel: Layout, spacing, typography, and other settings for the selected element
Lesson checklist
- I created the account and workspace
- I understand the role of the staging address
- I chose a blank site or template deliberately
- I can identify the main Designer panels
Next, you will build the basic page structure.