Create and verify a Payoneer account
Choose the correct account type, use legal identity and business information, complete verification with clear documents, and add an eligible bank account whose owner details match.
Incorrect account information may remain unnoticed until a payment or withdrawal triggers review. Set up the account carefully from the beginning.
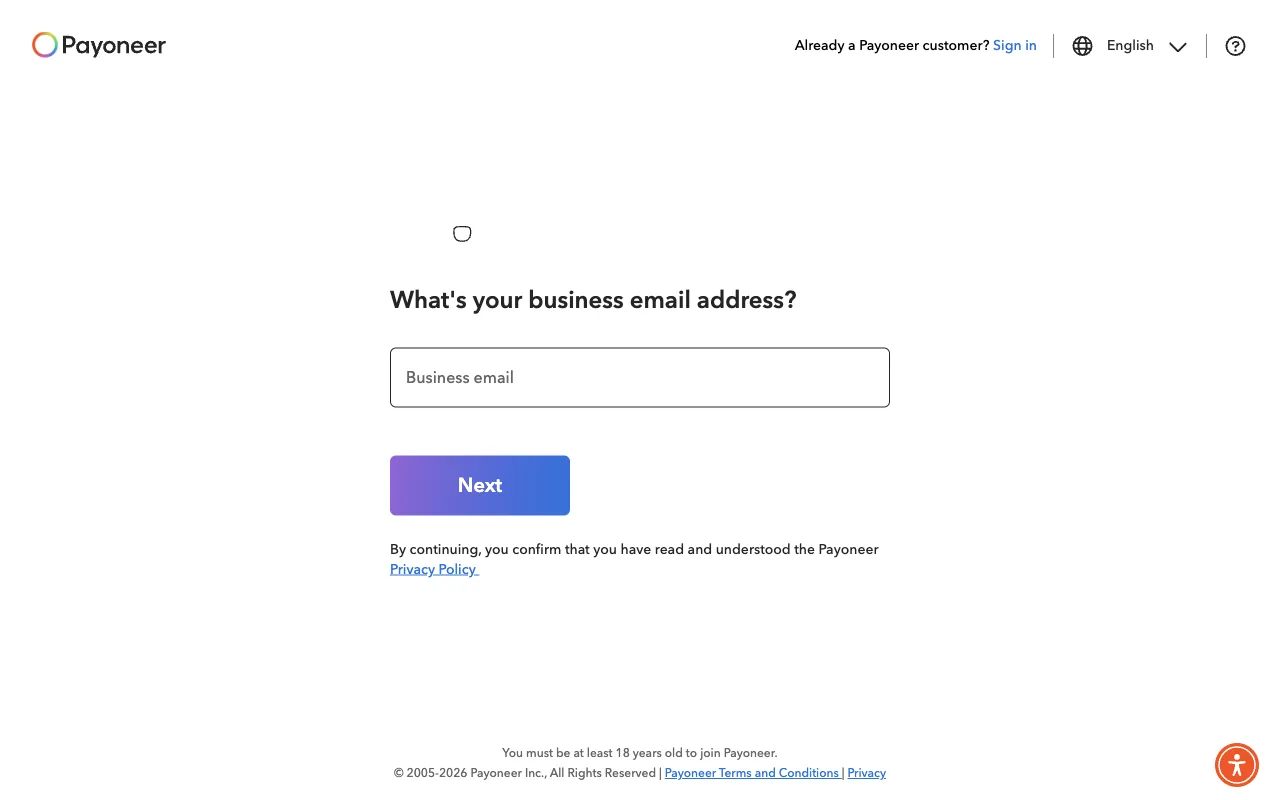
Register with accurate information
Use an email address you control and the legal name, address, date of birth, and business information requested for your country.
Choose the correct purpose and account type
Select the path that reflects whether you receive business payments and whether you operate as an individual or registered company.
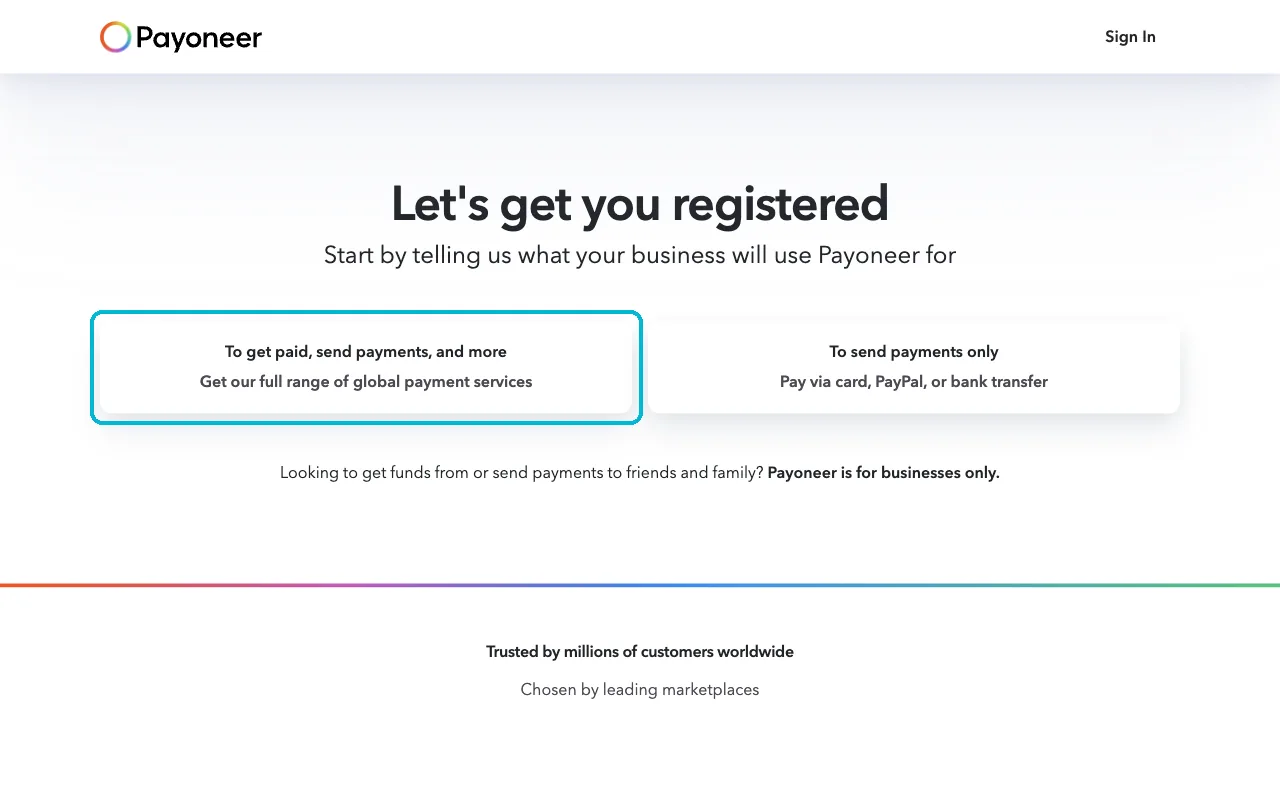
When a marketplace provides a dedicated Payoneer onboarding link, follow that platform's current instructions rather than creating a disconnected duplicate account.
Complete verification
Upload current, readable documents. The names and addresses should match the account. Respond to Verification Center requests through official channels.
Add the bank account
Use an eligible bank account that belongs to the Payoneer account holder or business according to the current rules. Review currency, country, and withdrawal compatibility before adding it.
Lesson checklist
- I selected the real account type and purpose
- Identity and business details match the documents
- Verification requests are complete
- The bank account is eligible and has matching ownership
Next, you will examine the Amazon connection as one platform specific example.