Exporting and common mistakes
Your edit is done, now it's time to export. This lesson covers resolution options, exporting captions, and the three most common mistakes beginners make in Descript.
In the last lesson you made your first edit: you imported a recording, checked the transcript, and cut by deleting text. Now you've got a finished edit sitting in front of you. Next up: turning it into a usable file you can actually share.
The export screen
Once your edit is done, you'll usually find an "export" button in the top right corner of the screen. Click it, and you get format and setting options.
Resolution and format options
Descript lets you export your video at different resolutions (ranging from standard definition up to high definition). Which resolution is available on which plan can vary; some of the higher options may be limited to paid plans.
A simple rule for your own use: if you're uploading to Instagram, YouTube, or a course platform, target the resolution that platform recommends. Picking the highest option isn't always necessary, and it just inflates your file size.
Exporting captions
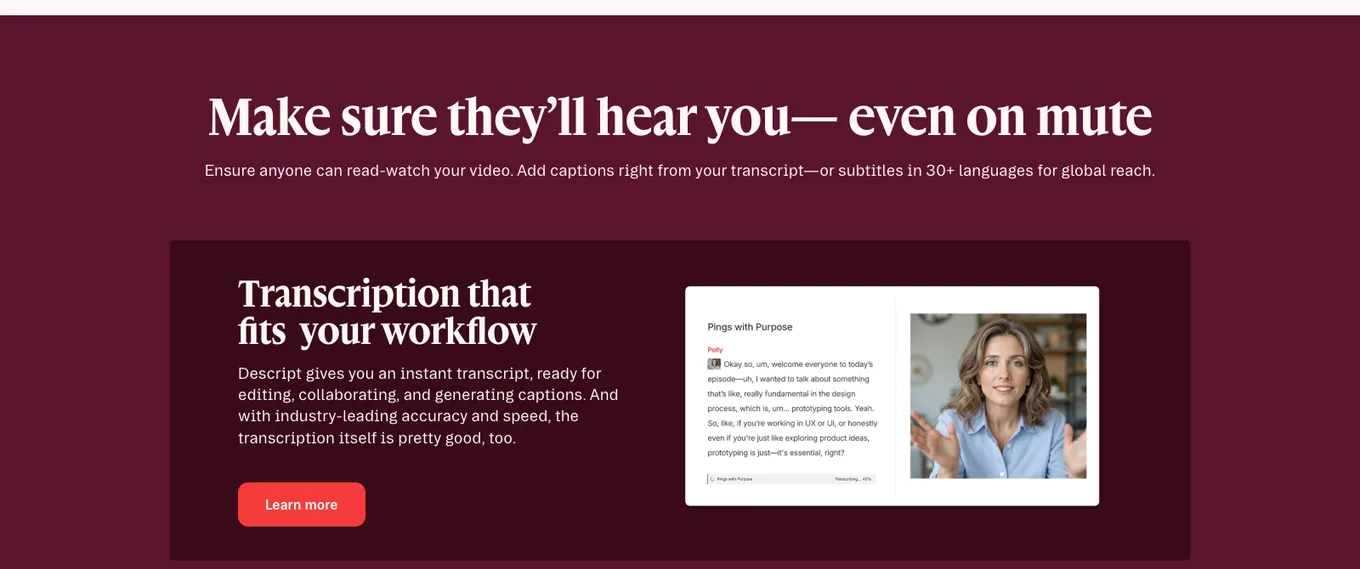
Since Descript already has your video transcribed, it can export that same text as a caption file. This is especially useful if you want to reach the audience that watches with sound off on social media; it also saves you from opening a separate captioning tool.
 Source: Descript, accessed July 2026.
Before exporting captions, give your transcript one more pass. The words you fixed during editing are correct, but if a corner went unchecked, that mistake now carries over into your captions too.
Common mistake 1: cutting without checking the transcript
This one came up in the second lesson too, and it's worth repeating. If you miss a mistranscribed word and cut a sentence thinking it's unnecessary, you may end up cutting a piece you actually wanted to keep. The rule is simple: read before you cut, and listen to the audio wherever you're not sure.
Common mistake 2: not backing up the original file
While you're working inside a Descript project, keep your original recording saved somewhere else too. If you make an edit you can't undo, or need a different version down the line later, having an untouched raw copy is what saves you. Keep it in a separate folder on your machine or in a cloud backup; don't rely on the Descript project alone.
Common mistake 3: forcing every job into Descript
Descript is strong for speech-driven editing, but it doesn't cover every need. If your video calls for a complex visual effect, a heavily layered transition, or fine color grading, don't force it inside Descript, move that part into an editor built for it instead. As I mentioned in the first lesson: Descript's strength is its text-first logic, not cinematic effect depth. Using the right tool for the right job gets you there faster than fighting the wrong one for hours.
Where to go from here
Across these four lessons you've seen Descript's core logic, made your first edit, and covered exporting. The best next step: take a short recording of your own (even a one-minute clip is enough) and run it through this whole flow start to finish. Pull the transcript, check it, cut, clean up, export. Do it once by hand, and the whole loop becomes second nature.
Lesson checklist
- I saw the resolution and format options on the export screen, and checked what my current plan offers
- I tried exporting captions, or know where to find that option
- I understand the risk of cutting without checking the transcript, and of not backing up the original file
- I know what Descript is good enough for, and when I need to move to a classic editor instead
You've completed this mini course. You now have the core workflow for editing speech-driven video quickly.
You finished this course. I also share updates about these tools in the weekly newsletter: